This article is brought to you by Lizzsews.
Are you interested in learning how to sew? This article is the third 'unit' in the learning to sew article series. Follow along, let's learn how to use your sewing machine together!
Recommended read: Learning to sew article series


Onto sewing the paper! Here’s what you’ll need:
- Sewing machine
- Lined paper
- Pen
- Sewing needle
- Presser foot “J”
- Thread
- A prepped machine
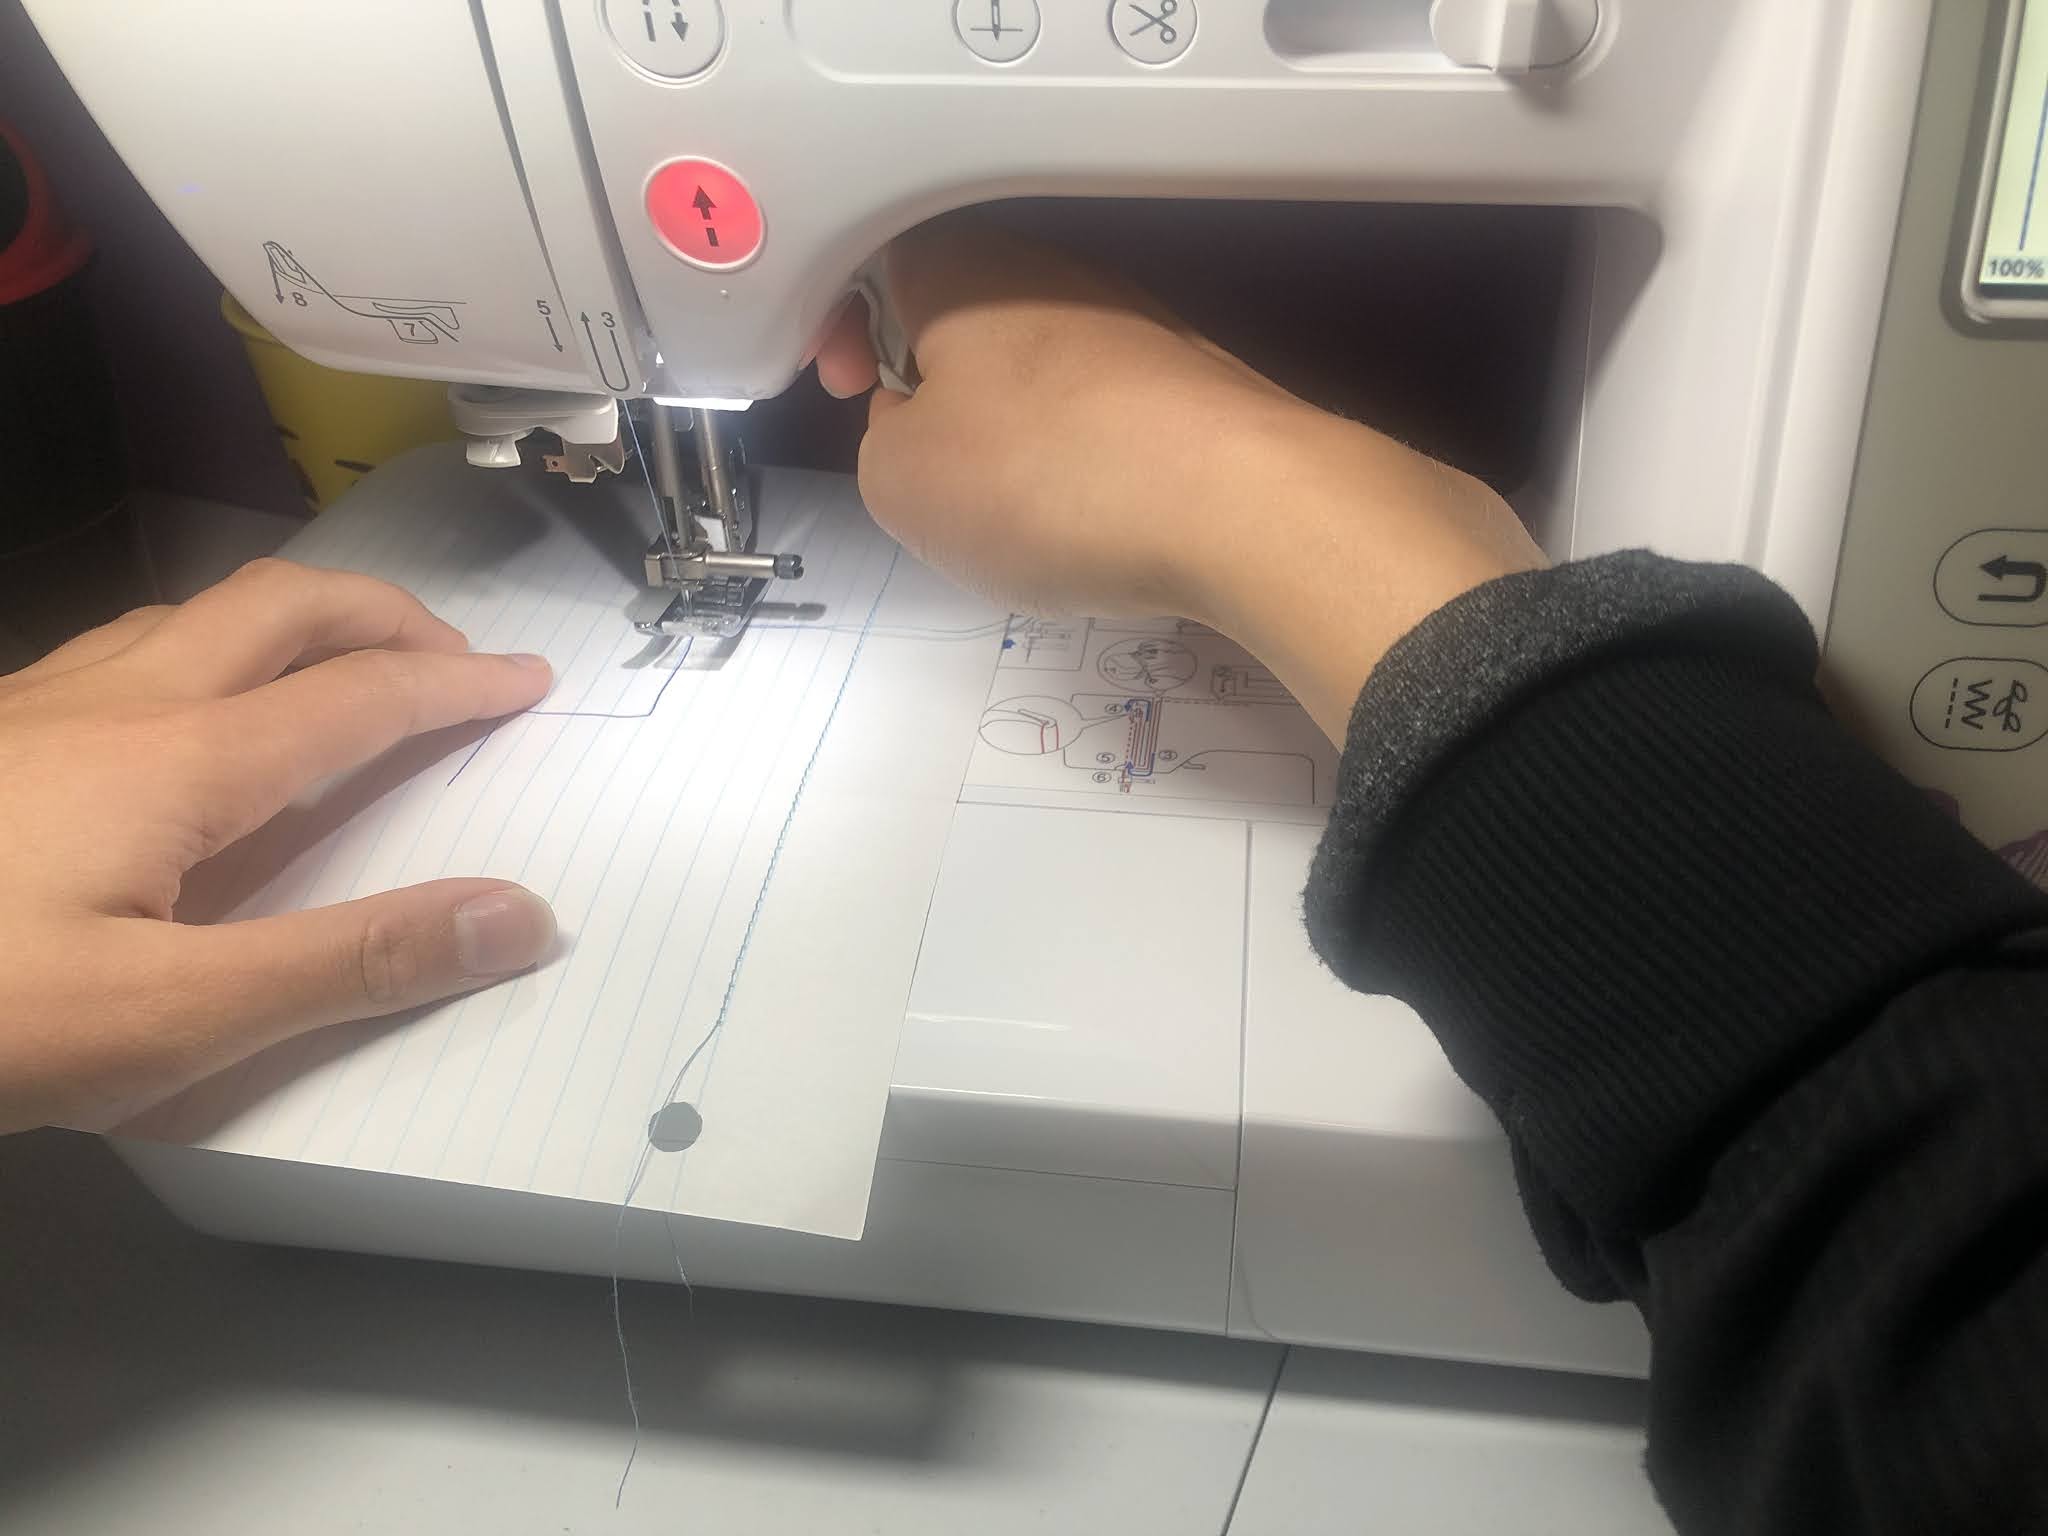
1. Place the paper under the presser foot, place it so once you sew you can sew along one of the lines, and lower the presser foot. To do this, bring the presser foot lever down.

2. To start your needle in the correct place, turn the handwheel. Turn it towards you, never the other way, until the needle is in the paper. Either depress the foot controller with your foot or click the start/stop button to start.

3. The feed dogs will help to keep the paper moving through the machine, and you will use your hands to guide the lined paper. This is so that you are sewing on one of the lines but not pulling it.
You’ll want to have your left hand to the left of the presser foot just guiding the paper lightly, keeping the machine sewing straight where you want it to (without pulling, tugging or moving harshly). As you learn to sew, hand placement will start to become natural.
4. Take the paper out of the machine and look at how you did. Are you happy with this and ready to move on to the next step?

5. Sewing straight lines. Using presser foot “J” and straight stitch(left), place the lined paper under the presser foot so that when you start sewing, you’ll be sewing down the line. Using the handwheel to move the needle down to where you want it, sew down this line.
Continuing to keep the fabric in line with your hand as you go (don’t pull the fabric). When you’re done sewing the stitch, either cut threads if your machine has the button or press the needle position button, lift the presser foot and cut the threads.
I recommend not using reverse/reinforcement stitches as it will just put a big hole in the paper! Reverse stitching is also known as backstitching.
Reverse/reinforcement stitches: generally needed at the beginning and at the end of sewing. Reverse stitches are when the stitching is sewn in the opposite direction, and reinforcement stitches will sew a few stitches in the same place. Depending on which type of stitch you have selected, reverse or reinforcement stitches will be sewn when the reverse/reinforcement stitch button has been pressed.
Reverse/reinforcement stitch button: when you press this button it will sew reverse/reinforcement stitches, it looks like a half oval arrow!
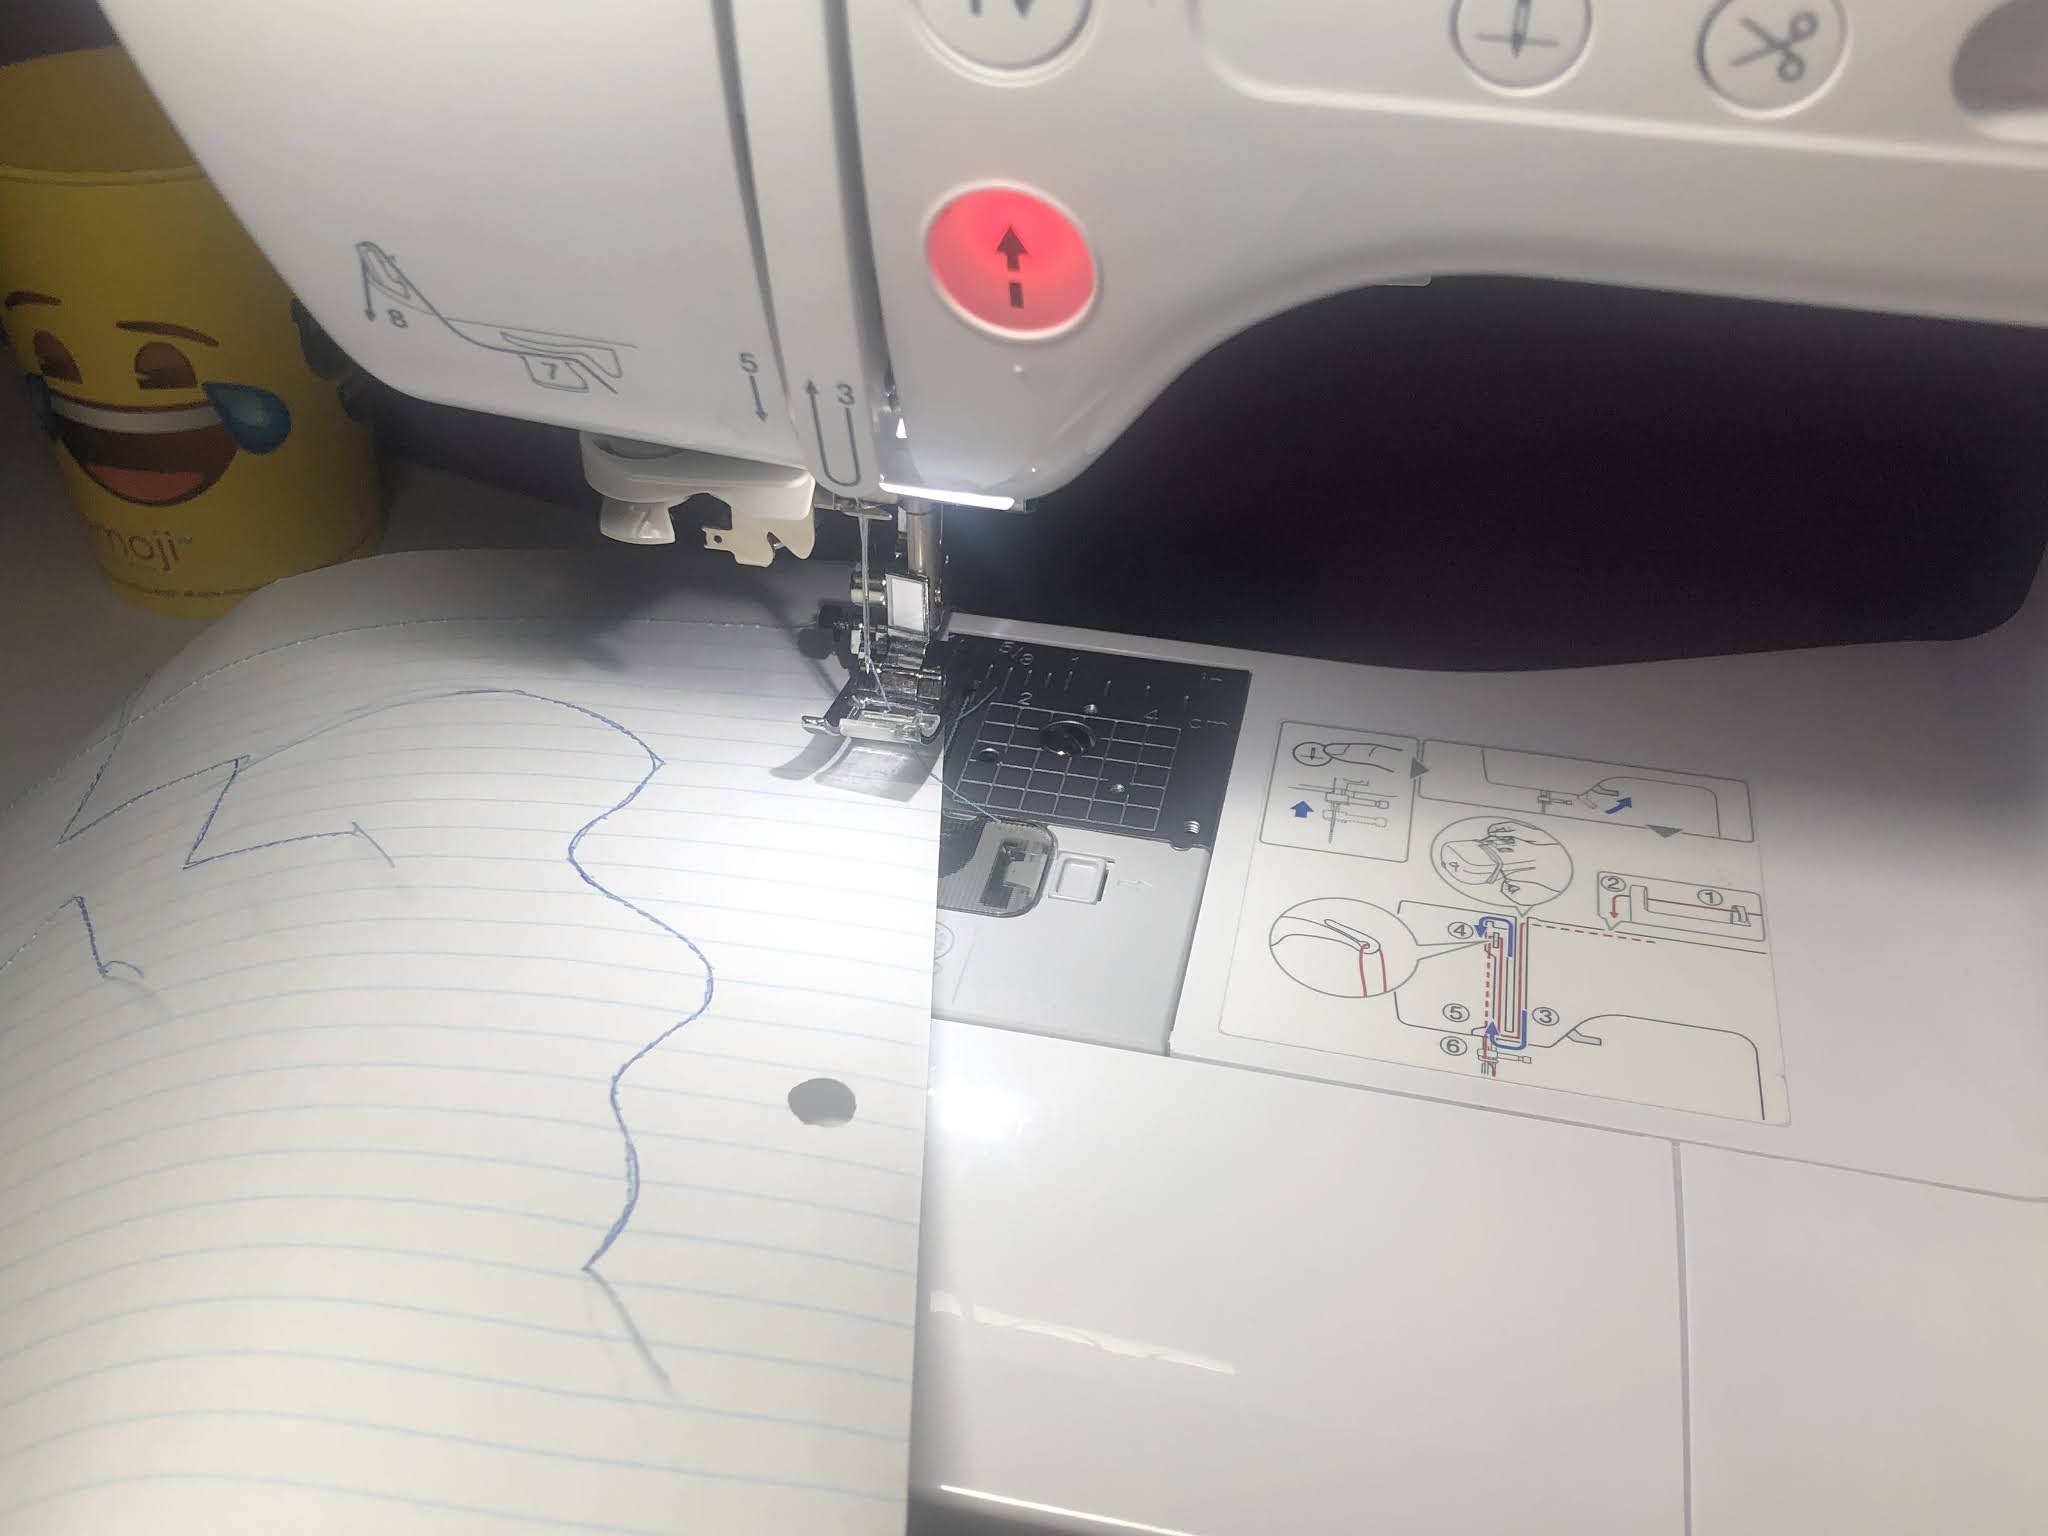
6. Learning to pivot. Sewing a staircase, using your pen draw a staircase on the paper, make sure that the lines are long enough to sew along. Now using the knowledge of pivoting from part one, you are going to sew along your line until you get to a corner, raise the presser foot, move the paper 90 degrees, sew down the line and continue this step until you have completed the staircase.


Continue to practice sewing along staircases until you’ve mastered the skill!
Zig-zags are also a great way to learn to pivot while sewing! They also show that pivoting does not just have to be on 90-degree angles and that pivoting is just any time you are changing direction while sewing without cutting the threads!


7. Sewing curves, using your pen draw a curve on a piece of paper. Make sure that the lines are long enough to sew along. Sew along the curve guiding the paper lightly with your hand, pivoting is a huge part of curves, so don't forget to pivot! Curves are a difficult skill so keep on practicing them!


8. The whole SHEBANG!! Now we are going to put them all together! Sewing straight, staircases and curves. Take your pen and on a piece of paper draw a mixture of staircases, zigzags, curves and straight stitches, making sure that the lines are long enough to sew along! Sew along all of these lines while using the tips from before.


This is the most difficult and the most fun step, so take your time and sew on the lines you drew!


Continue to practice the last step until you’ve mastered it. And once you're ready, head on over to 'unit 4' where you will learn what you need to know about sewing on fabric.
Recommended: Learn sewing
Recommended: Sewing projects
Leave a comment below and let me know if you made a straight line on the paper! And don't forget to subscribe to stay up to date with all of Lizzsews new articles. See you next time!
Comments
Post a Comment