This article is brought to you by Lizzsews.
In today's article, I will guide you through how I spiced up my little notebook cover. Of course, with a cactus design. Follow along with this project and share your result in Lizzsews Facebook group.
I used a notebook with a pvc sheet cover, plastic cover material, and wasn’t sure how it would turn out. But it worked really well!
What I used:
- Notebook
- Cricut
- Lysol wipe and paper towel
How I made it:
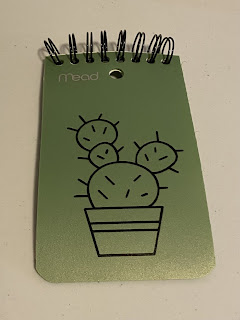
I started by finding a cactus design, I used this image ID from Cricut design space: #M855825F.
I cleaned off the surface of the notebook, which had a pvc sheet cover, that I was going to put the design on. To do this, I cleaned and scrubbed it with a Lysol wipe and dried it with a paper towel.
I cut out the design on the removable vinyl and weeded it. Weeding is when you remove negative pieces around a cut image.
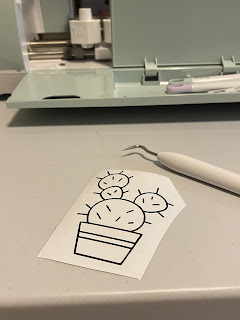
Next was applying the transfer tape, I cut the transfer tape to size, peeled off the backing and held each size quite firmly. I placed the transfer tape down onto the design, still holding tightly.
Using the scraper tool, I burnished (smooth/scrape. Definition: polished by rubbing.) the vinyl to the transfer tape. I pulled the transfer tape up slowly, ensuring that the vinyl was attached to the transfer tape and not stuck to the vinyl lining.
I took the transfer tape, which now had the vinyl design on it, and holding it firmly, I placed it down on the front of the notepad. Using the scraper tool, I burnished the design onto the notepad cover.
And now I had my cute cactus notepad!
Recommended read: How I made article 5 TBA
Leave a comment below and let me know if you did this notebook cover design! Don't forget to subscribe to get notified for my next blog post :)
Comments
Post a Comment