This article is brought to you by Lizzsews.
In today's article, I will guide you through how I made a simple ‘happy birthday' card. Follow along with this project and share your result in Lizzsews Facebook group.

What I used:
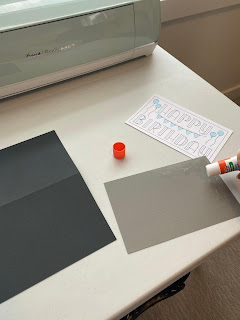
Black cardstock
White cardstock
Grey cardstock
1.0 aqua gel pen
Scoring stylus
Glue
How I made it:
To start this project, I looked for a design to use, I chose a happy birthday card by Cricut. I didn’t want to create the envelope, and I needed to customize a few other colours and pens, so I added the project to my canvas.
I adjusted the cardstock colours, and the pen types and colours until I liked the look.
Recommended: Cricut - Happy Birthday Card modified
And as simple as that, I clicked make it and loaded my mats, my pens and scoring stylus as stated; and left my cutting blade in the clamp.
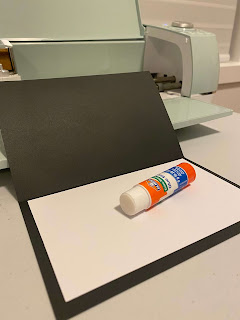
Now that everything was cut, scored and drawn, it was time to assemble. I folded the black cardstock from the scoring line and glued the grey cardstock to the middle of the front of the card. Now to finish off the card, I glued the white cardstock, with the drawn design, to the middle of the grey cardstock.
There you go. The card was complete and ready for customization!
** update - once I went to go customize this card, I realized that I didn’t have a white pen (to write on the inside of the card with). So, I went back to my canvas and detached the layers. I deleted every layer except for the one white cardstock cut. I cut out the white cardstock and glued it to the inside of the card on the bottom middle. **
Recommended read: Soap tray: How I made article 3
Leave a comment below and let me know if you made this birthday card! Don't forget to subscribe to get notified for my next blog post :)
Comments
Post a Comment