This article is brought to you by Lizzsews.
In today's article, I will guide you through how I made a Valentine's Day card. Follow along with this project and share your result in Lizzsews Facebook group.
Recommended read: How I made article series
What I used:
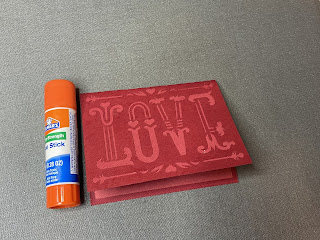
Cardstock
Glue
The steps I took:
I started out by finding a project for a Valentine's Day card that I liked, I found a simple 'Love' card and thought it was perfect. Valentine Dinner Love Card. Less is more, a design is perfect not when there is nothing more to add, but when there is nothing left to take away. I don't know where I read that quote, but it has always stuck with me, even to this day.
Recommended read: How I made: Birthday card
I duplicated the light pink cardstock cut and resized it down, uniformly, to a height of 2.8"
I wanted to use two different shades of red for the card, so I replaced the pink cardstock with a light red cardstock.
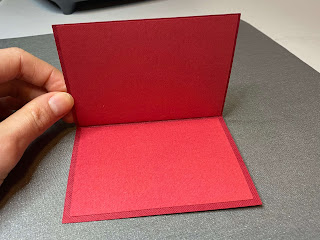
I cut out the light red cardstock, and cut and scored the darker red cardstock. I weeded the dark red cardstock, there were a lot of pieces to get. I glued the light red cardstock to the dark red cardstock, one on each side of the inside.


Gluing the top one was very difficult and it wouldn't stick very well. If I were to make this card again, I would use adhesive instead, I just did not have it on hand.
I still love how the card turned out, but it's not something that I would sell unless I used adhesive and/or adhesive foam dots for adhering the light red cardstock to the cut-out dark red cardstock. I also want to try this card with a drawn design rather than a cut-out design!
Recommended read: Ski Coaster: How I made article 18
Leave a comment below and let me know if you made this card, and share your gluing tips! Don't forget to subscribe to get notified for my next blog post :)
Comments
Post a Comment