
Dancer hand towel embroidery: How I made article 21

  This article is brought to you by Lizzsews.


In today's article, I will guide you through how I made an embroidered dance hand towel. Follow along with this project and share your result in Lizzsews Facebook group.


Recommended read: How I made article series


What I used:

- White hand towel

- Embroidery software

- Dancer embroidery design

- Embroidery machine

- Cutaway stabilizer

- Embroidery threads + bobbin thread

- Machine embroidery hoop 4x4

- Washaway stabilizer

- Embroidery needle

- Embroidery foot

- Pins/tape

The steps I took:

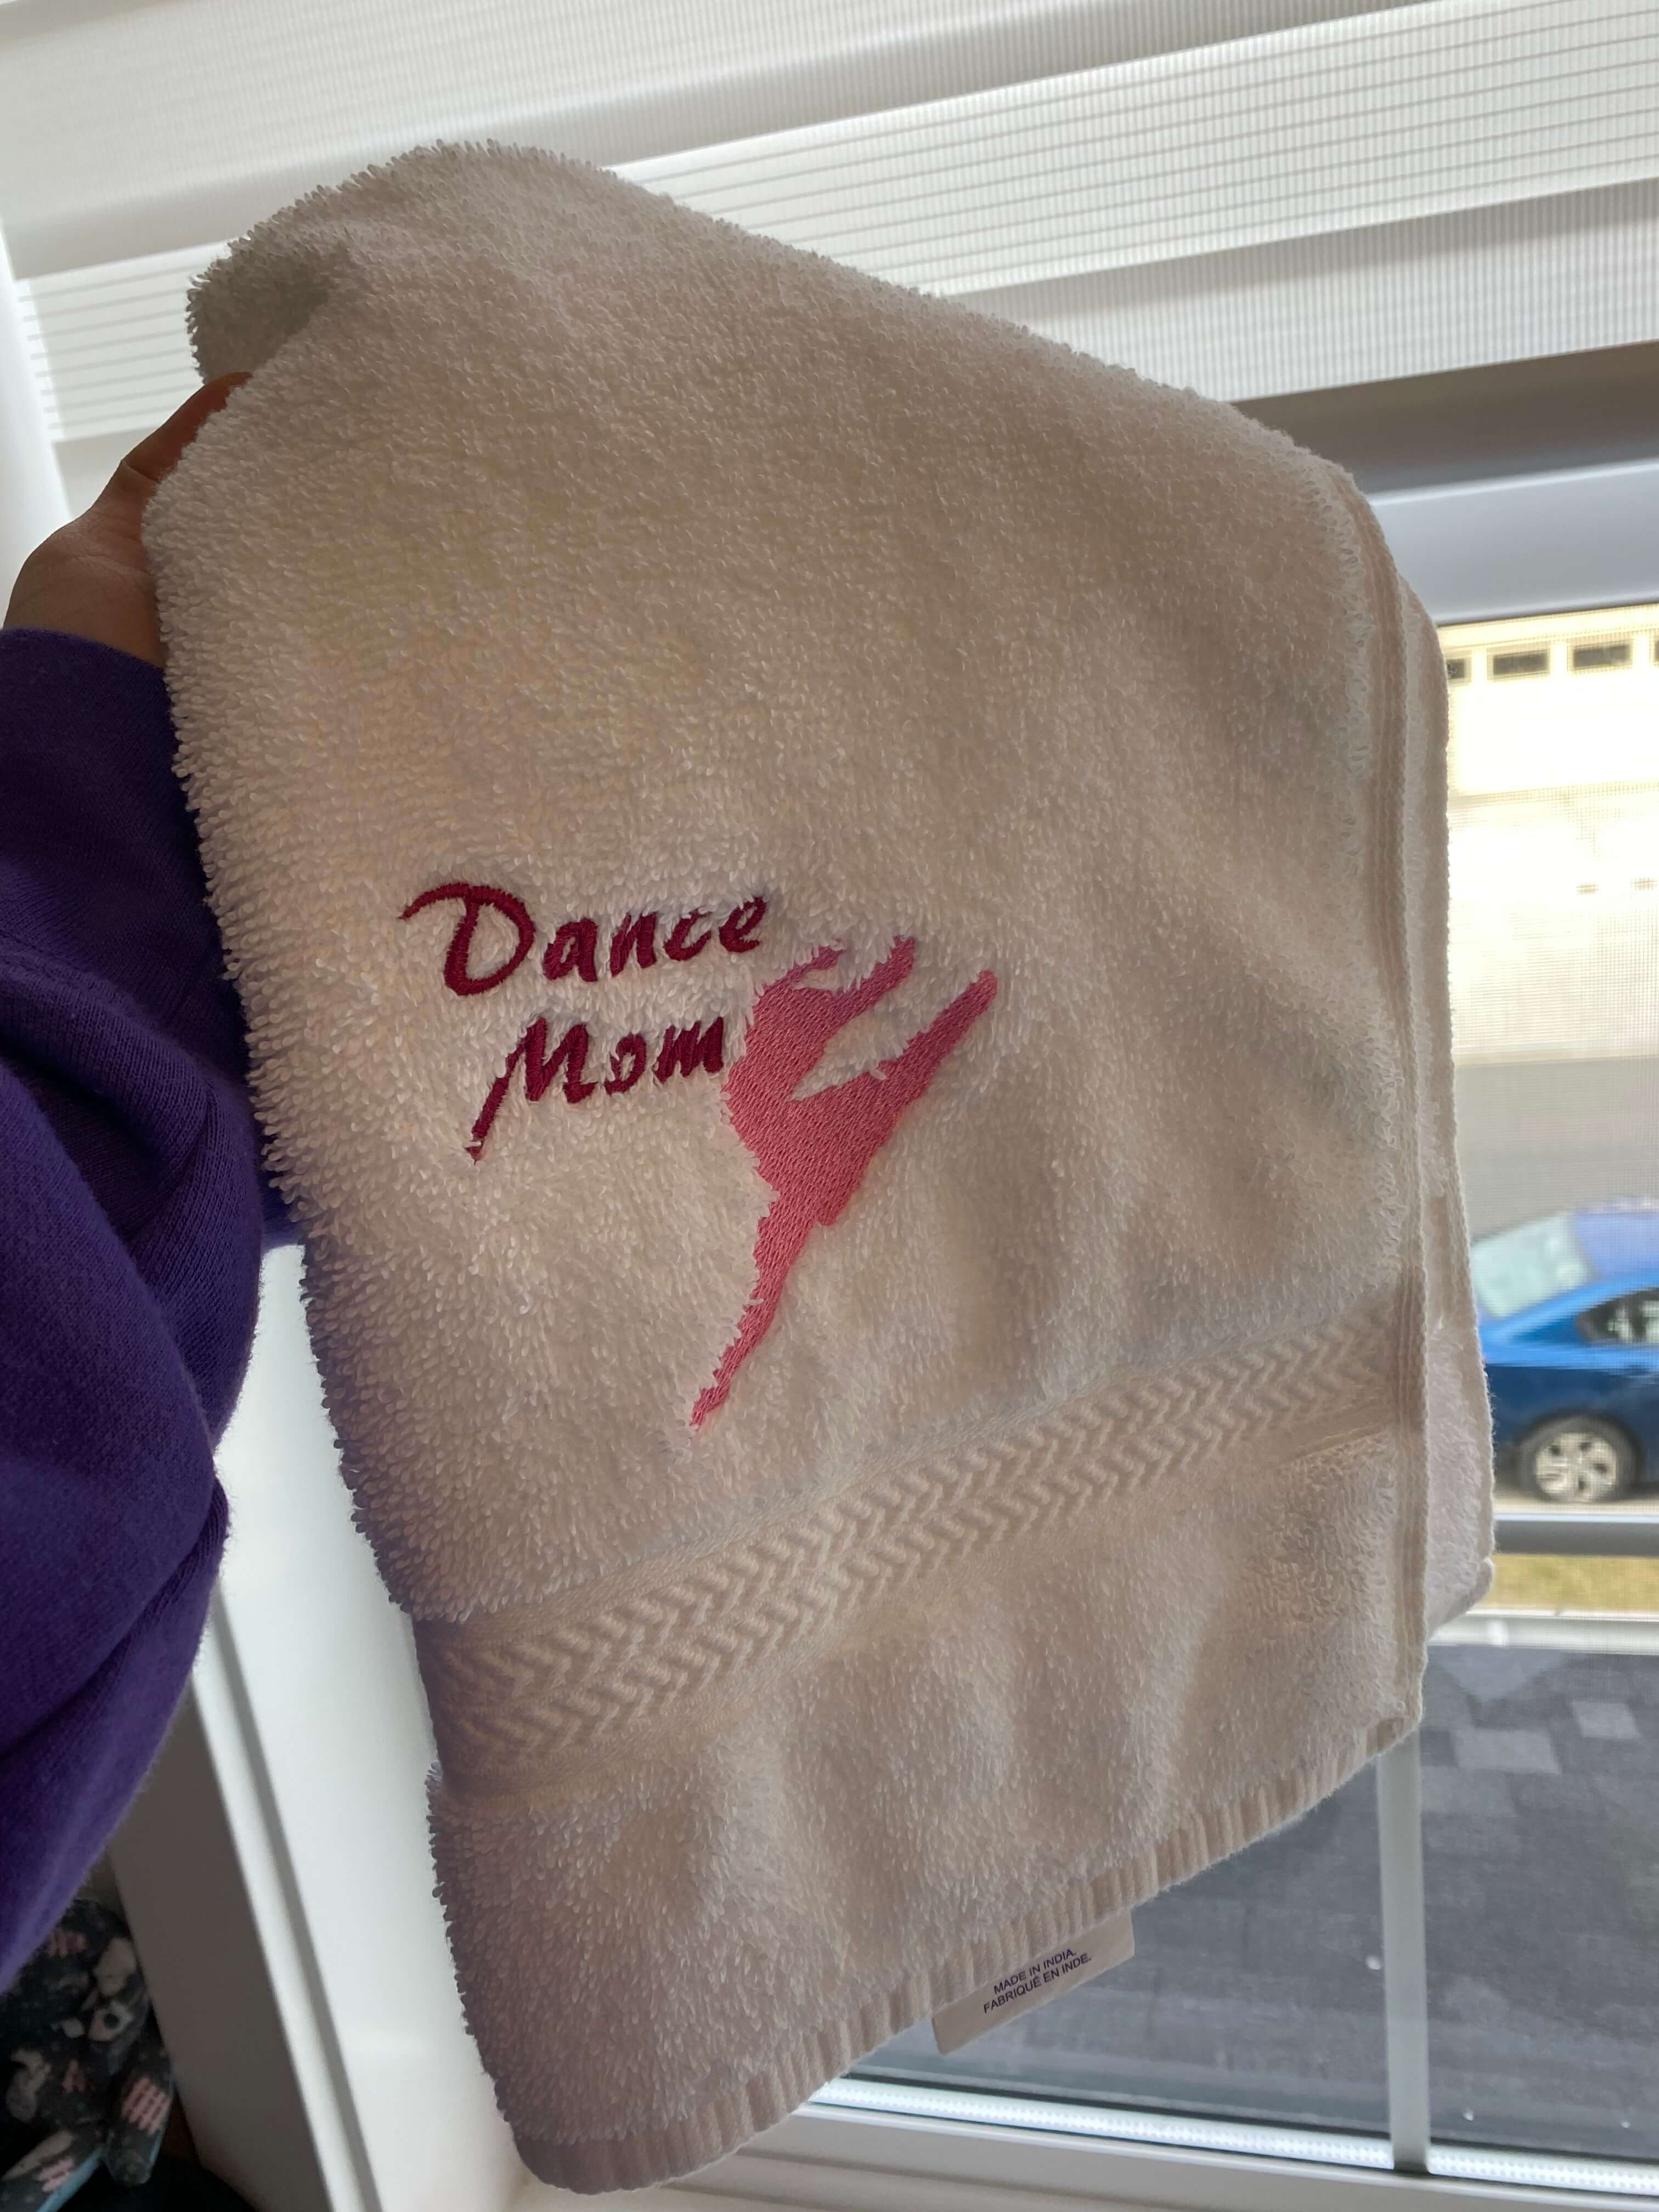
To start off this simple and fun embroidery project, I wanted to create something with the saying 'dance mom'. I used the free font almost fancy from Embrilliance and typed up 'dance mom' to the size I wanted in Embrilliance software.

Using Embird embroidery software, I combined the words with the dancer embroidery design. I placed each design where I wanted it within the 4x4 hoop and exported it in PES format.

Recommended read: What are machine embroidery formats


Next was the embroidery part! Rather than hooping the towel today, I wanted to float it. I hooped some cutaway stabilizer and placed my hand towel on top of the hoop. I placed the towel as straight as I could and not too close but not too far from the bottom border and the side edge.


Once placed, I added a piece of wash-away stabilizer on top to where the design was going to go and pinned it in place. I used a basting stitch box to hold everything in place. I was careful as it was stitching to ensure that my pins were out of the way.

Once the box was stitched, I removed my pins and let my design stitch out.

After the design was done, I unhooped everything and removed the basting stitches. I cut the cutaway stabilizer close to the design and rinsed the water-soluble stabilizer away.

I always like to wash anything that I embroider with a wash-away stabilizer pretty soon after rinsing away the stabilizer as this gives it a softer feel and a nicer look.


Leave a comment below and let me know if you made this hand towel! And don't forget to subscribe to stay up to date with all of Lizzsews new articles. See you next time!

Comments

Popular posts from this blog

10 Things You Need To Start Machine Embroidery Today

 This article is brought to you by  Lizzsews . How to start machine embroidery! Here’s everything that you need to get started with machine embroidery! Without spending too much! Are you interested in sewing? Recommended read:  10 things you'll need to start sewing! 1. You are going to need an embroidery machine . You can use any embroidery machine you want. Here are a couple of examples: The Brother se600. This machine can do both sewing and embroidery, and is the best budget embroidery machine! I highly suggest this machine. The brother pe550D! This is an embroidery-only machine, with awesome Disney embroidery designs! The brother se1900. I recommend the Brother brand for sewing and embroidery machines. To note here: determine your budget, determine how much you have to spend on embroidery supplies (and blanks ) and how much you have to spend on your machine. Purchase the largest embroidery hoop that you can afford! The se600 is an amazing machine and I highly recomm

8 Reasons Why Your Upper Thread Is Shredding On Your Embroidery Machine

 This article is brought to you by  Lizzsews . Here are some reasons why your top thread might be shredding while you’re embroidering! Starting machine embroidery is definitely a challenge, and troubleshooting is hard.  Recommended read: 10 Things you need to start machine embroidery today Often when your top thread is shredding, it’s caused by when the thread goes through the eye of the needle or while it’s going through the thread guides.  1. A dull or bent needle How long has it been since you’ve changed that needle? It might be time to swap it out! A needle only lasts about 8-10 hours of stitching, this amount of time may vary depending on what you are making. It’s good to have lots of needles on hand. Recommended read: When should I change the needle for machine embroidery 2. Are you using the right needle for the project? Are you embroidering heavier fabrics? Like denim or leather? If so, you’ll want to use a heavier needle size like 90/14. If you’re just embroidering mid-weight

Guide To The Three Main Machine Embroidery Stabilizers

 This article is brought to you by  Lizzsews . Here is everything that you need to know about the three main machine embroidery stabilizers. Stabilizers are important in machine embroidery; they prevent puckering and support the fabric.  The stabilizer goes underneath the fabric you are embroidering. Although there are some stabilizers that will go on top of certain types of fabric, this is called a topper.  A bottom stabilizer is always needed, you can never embroider without stabilizer, but a stabilizer topper is only needed for certain blanks. The three main types of stabilizers are cutaway, tearaway, and wash away.  The first is a cutaway stabilizer. A cutaway stabilizer can be used on clothes and many different types of fabric. The cutaway stabilizer is permanent and is mainly designed for knit fabric. It is non-woven and helps get rid of pulled or sagging stitches.  The cutaway stabilizer has a lot of stretch resistance and stays intact after wearing, using, and launderin